How to Start an Isopod Colony (UK Beginner's Guide)
By Kernow Isopods · Truro, Cornwall
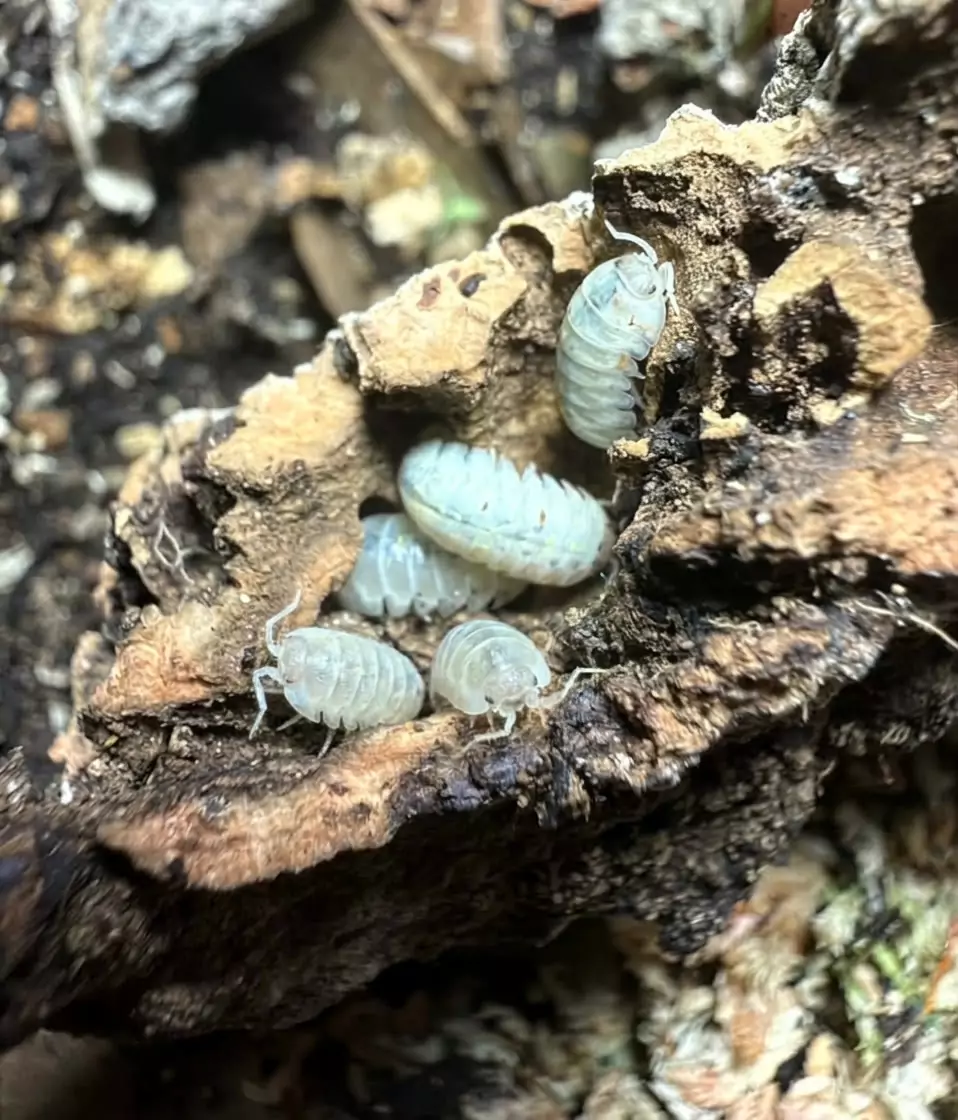
Isopods are one of the easiest and most rewarding invertebrates to keep. With a cheap plastic tub and the right setup, a small starter culture can grow into a thriving colony in a few months. Here's exactly how we set ours up in Cornwall.
1. Choose a beginner-friendly species
Start with something hardy and fast-breeding. Good first choices are Magic Potion (Armadillidium vulgare) and Mandarin (Cubaris murina). They forgive mistakes and breed quickly, so you'll see babies (called mancae) within weeks.
2. The tub
- A clear plastic storage tub of about 3–10 litres is perfect for a starter culture.
- Drill or melt a few small holes in the sides and lid for airflow, or fit mesh vents. Stagnant, stuffy air is one of the most common causes of losses.
- Keep it somewhere dark-ish at room temperature, out of direct sunlight.
3. Substrate
Isopods eat their bedding, so make it rich. A good mix is roughly two parts organic topsoil (no added fertiliser) to one part coco fibre, with crushed leaf litter and rotten hardwood mixed in. Aim for 5–8 cm deep.
4. A moisture gradient
Keep one half of the tub damp (mist it and add a clump of sphagnum moss) and let the other half stay drier. This lets the isopods choose the humidity they need, which is especially important when they moult.
5. Hides and decor
Cork bark flats are ideal: isopods love to cluster underneath, and they double as food. Add a layer of dried oak or beech leaves on top.
6. Food
- Staple: leaf litter and decaying hardwood, always available.
- Calcium: a piece of cuttlebone or crushed eggshell for healthy moults.
- Protein: a pinch of fish flakes or dried shrimp once a week.
- Veg: small pieces of squash, carrot or cucumber. Remove anything uneaten before it goes mouldy.
7. Patience
For the first few weeks, check on them sparingly and keep the damp side damp. Once you spot tiny white babies, your colony is on its way. When it gets crowded, split it into a second tub.
Common beginner mistakes
- Letting the whole tub dry out (or keeping it soaking wet everywhere).
- No ventilation, causing mould and stale air.
- Too little leaf litter: it's their main food, not just decoration.
- Disturbing them every day. They breed best when left alone.