 In stock
How to Set Up an Isopod Enclosure, Step by Step
By Alex · Kernow Isopods, Truro, Cornwall · Published 18 November 2026
New to isopods? Start here: Best isopods for beginners · Isopod starter kit UK
An isopod enclosure can be a plain plastic tub. What matters is airflow, a rich substrate, plenty of leaf litter, somewhere to hide and a damp end. Here is the set-up in order, so you can have it ready a day or two before your isopods arrive. All our isopods are captive-bred, never wild-caught.
Step 1: Choose the tub
Use a clear plastic storage tub of about 3–10 litres. Put it somewhere dark-ish, out of direct sunlight.
Step 2: Add ventilation
Drill or melt a few small holes in the sides and lid, or fit mesh vents, on two opposite sides if you can. Stagnant, stuffy air is one of the most common causes of losses. Our humidity and ventilation guide goes into detail.
Step 3: Add the substrate
Isopods eat their bedding, so make it rich: organic topsoil with no added fertiliser, coco fibre, crushed leaf litter and rotten hardwood. A good mix is roughly two parts topsoil to one part coco fibre. Aim for 5–8 cm deep. The substrate and leaf litter guide has the details.
Step 4: Make a moisture gradient
Moisten one end and add a clump of sphagnum moss. Leave the other end drier so the isopods can choose, especially when moulting. Mist the damp side, not the whole tub.
Step 5: Add leaf litter and bark
Add a generous layer of dried oak or beech leaves on top: it is cover and food at once. Lay cork bark flats on the surface, where isopods love to cluster underneath. Top the leaves up as they disappear.
Step 6: Add calcium and food
Add a piece of cuttlebone or some crushed eggshell for healthy moults. Leaf litter and decaying hardwood are the staple. A pinch of fish flakes or dried shrimp now and then covers protein, and small pieces of squash, carrot or cucumber are a treat: remove anything uneaten before it goes mouldy. See what isopods eat.
Step 7: Check the temperature
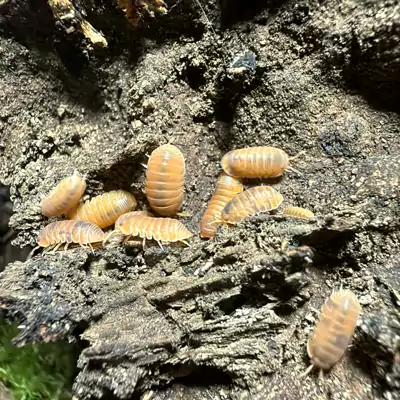
Magic Potion, Zebra and White Pearl are happy at normal room temperatures. Cubaris such as Anemone want 22–26 °C, so in a cool house give them a warm room. See the Cubaris care guide for more.
Step 8: Add your isopods
Tip the whole culture pot, substrate and moss included, onto the damp end. Then keep the damp end damp and leave them alone for a week or so. Our arrival guide walks through the first day.
Which species and how many?
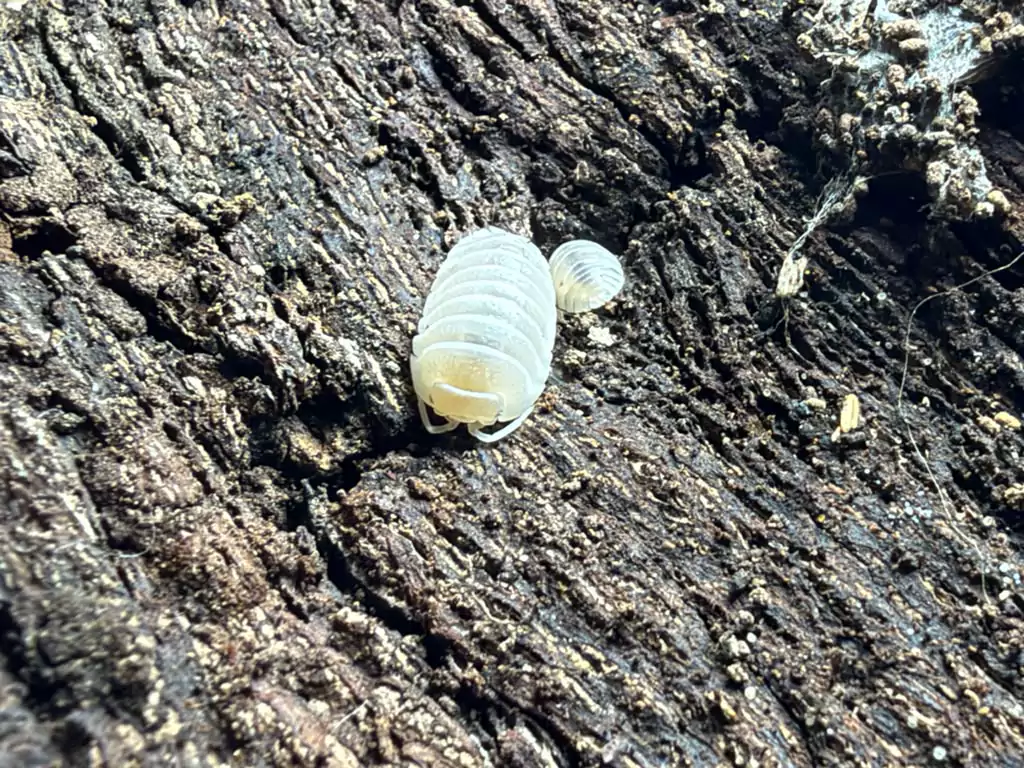
For a new colony choose a pack of 5 or more. Easy first species include Magic Potion, Anemone, Zebra and White Pearl; see best isopods for beginners and how many isopods to start with. You can add our Premium Isopod Soil and 1.3 L or 3.0 L tubs with lids to an isopod order; the starter kit checklist lists the rest. The full walk-through is also in how to start an isopod colony.
Planning a bioactive vivarium instead? See best isopods for a bioactive vivarium.
Quick answers
What size tub do I need for isopods?
A clear plastic storage tub of about 3–10 litres is plenty for a starter culture.
How deep should isopod substrate be?
Aim for 5–8 cm of organic substrate: topsoil with no added fertiliser, plus coco fibre, crushed leaf litter and rotten hardwood.
What calcium do isopods need?
A piece of cuttlebone or crushed eggshell, for healthy moults.
Can I set the tub up before my isopods arrive?
Yes, and it is a good idea: set it up a day or two before. Then add the isopods to the damp end and leave them alone for a week or so.
Buy enclosure-set-up isopods captive-bred from Kernow
In stock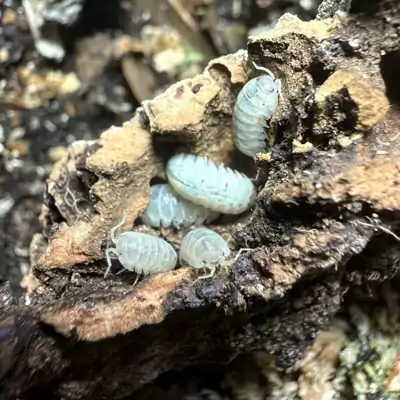 In stock
Magic Potion
Armadillidium vulgare "Magic Potion"Very easy care, level 1 of 5Pack of 5 from £8.99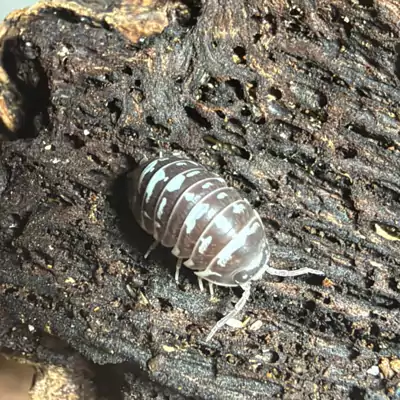 In stock
Zebra
Armadillidium maculatumEasy care, level 2 of 5Singles from £2.49Packs of 5 from £8.99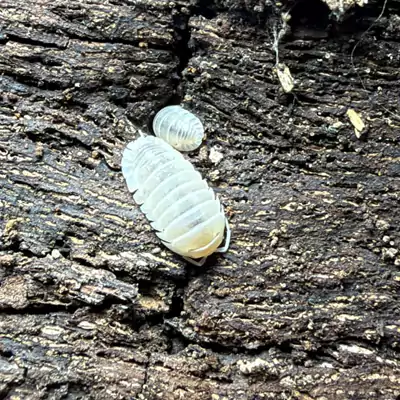 In stock
White Pearl
Armadillidium granulatum "White Pearl"Easy care, level 2 of 5Singles from £2.49Packs of 5 from £8.49More guides
- How to Start an Isopod Colony (UK Beginner's Guide)
- Best Isopods for a Clean-Up Crew (Geckos & Frogs)
- Rubber Ducky Isopod Care Guide (Cubaris sp. "Rubber Ducky")
- Cubaris Care Guide: Panda King, White Shark, Amethyst & More
- Pink Dragon Millipede Care Guide (Desmoxytes planata)
- What Do Isopods Eat? A Complete Feeding Guide (UK)
- Why Are My Isopods Dying? 8 Common Causes and Fixes
- Your Isopods Have Arrived: Unboxing and Settling In
- Isopod Substrate and Leaf Litter: A Practical UK Guide
- Panda Isopod Care Guide: Pink, White and Red Panda
- Magic Potion Isopod Care Guide (Armadillidium vulgare)
- White Shark Isopod Care Guide (Cubaris sp.)
- Cubaris murina Care Guide: Anemone and Glacier Isopods
- Zebra Isopod Care Guide (Armadillidium maculatum)
- Pineapple Isopod Care Guide (C. muricatum)
- Nesodillo Care Guide: Shiro Utsuri and Purple Ghost
- Vex Isopod Care Guide (Troglodillo sp.)
- Best Isopods for Beginners: 5 Easy Species (UK)
- Isopod Starter Kit UK: What You Need for a First Tub
- How Many Isopods to Start With (and for a Bioactive Tank)
- Best Isopods for a Bioactive Vivarium (UK Picks)
- Isopod Humidity and Ventilation: Moist Side, Dry Side